The timer finishes just as you reach your mark. You open the photo: the bookcase behind you is crisp, but your face is soft. Taking twenty more with a different smile will not fix that frame.
Put the phone somewhere stable, mark where you will stand, and inspect one test photo at full size. Once your eyes are sharp, make a short series with different expressions.
The steps below are for a solo head-and-shoulders portrait. A full-length shot needs different framing; the mirror and timer guide covers that setup.
Set up the frame before you enter it
Use a tripod, clamp, or flat surface where the phone cannot slip when you touch the shutter. Bring the camera near eye level. Leave a little room above your hair and beside both shoulders so you can make a square crop later.
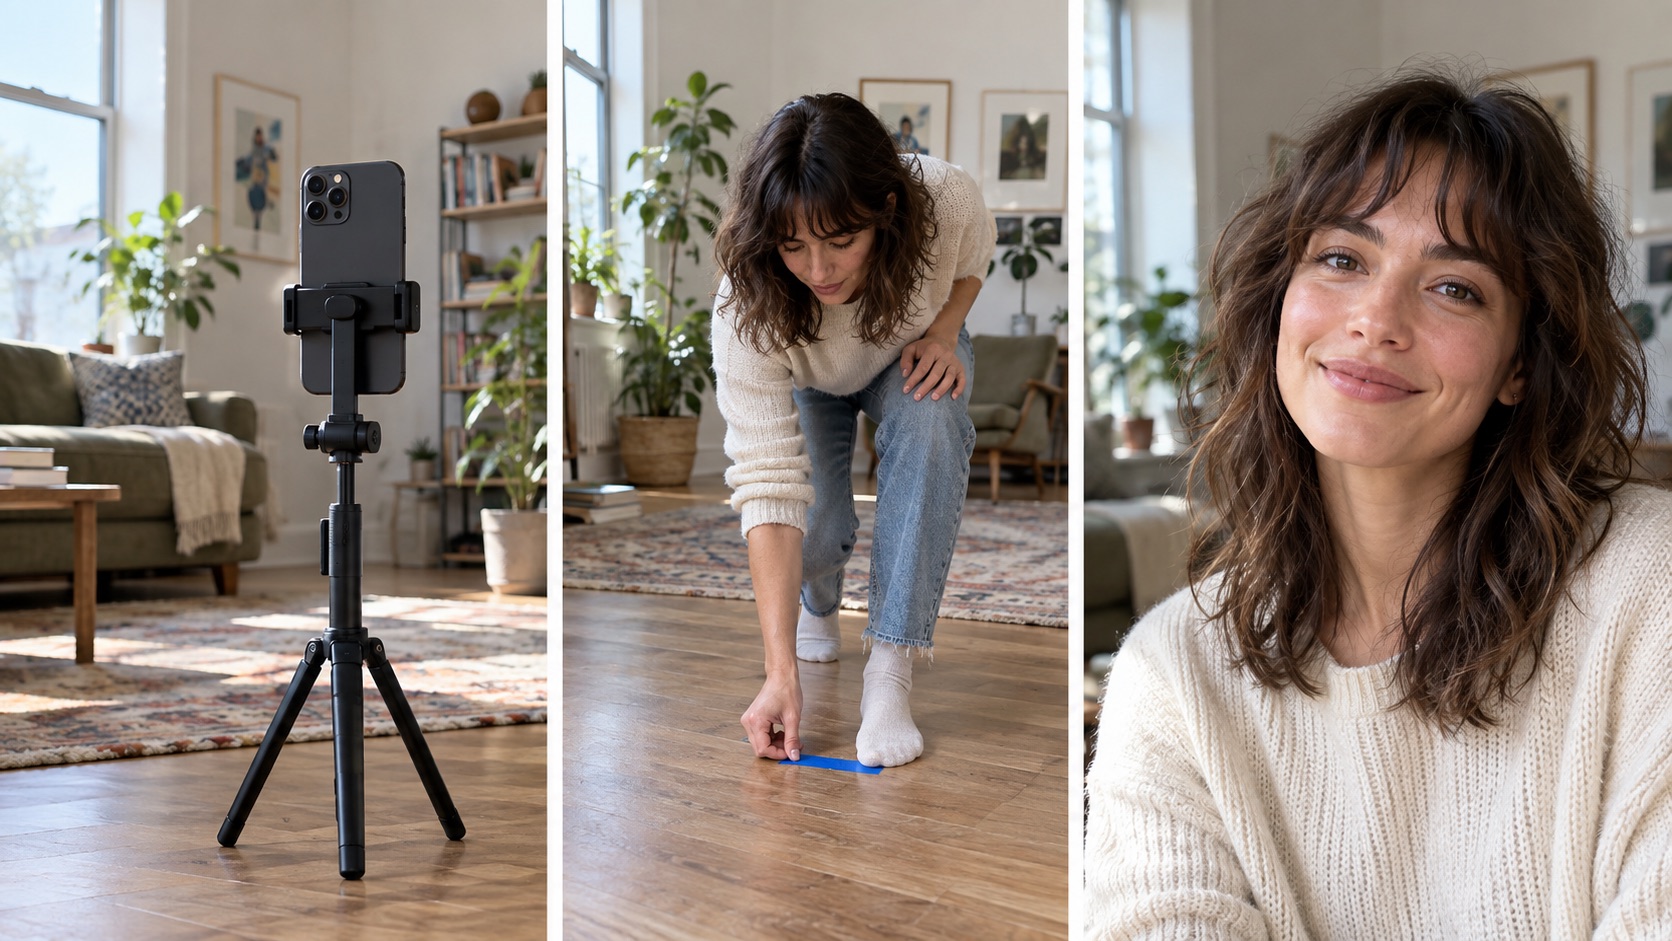
Find a floor mark you can return to, such as a tile line or the edge of a rug. Take a test frame from that spot. If the camera framed the bookcase instead of you, adjust it now. Check the top of your head, both shoulders, and anything in the background that you would rather leave out.
The standing mark helps you return to the same focus distance and crop. This is an illustrative setup.
Focus, then time the shot
When Liz Morrow took her own self-portraits with a tripod and camera, she used the grass near her bike wheel as a focus target before moving into that spot.1 Her camera let her lock focus manually. On a phone, the first photo of your face is the check that matters.
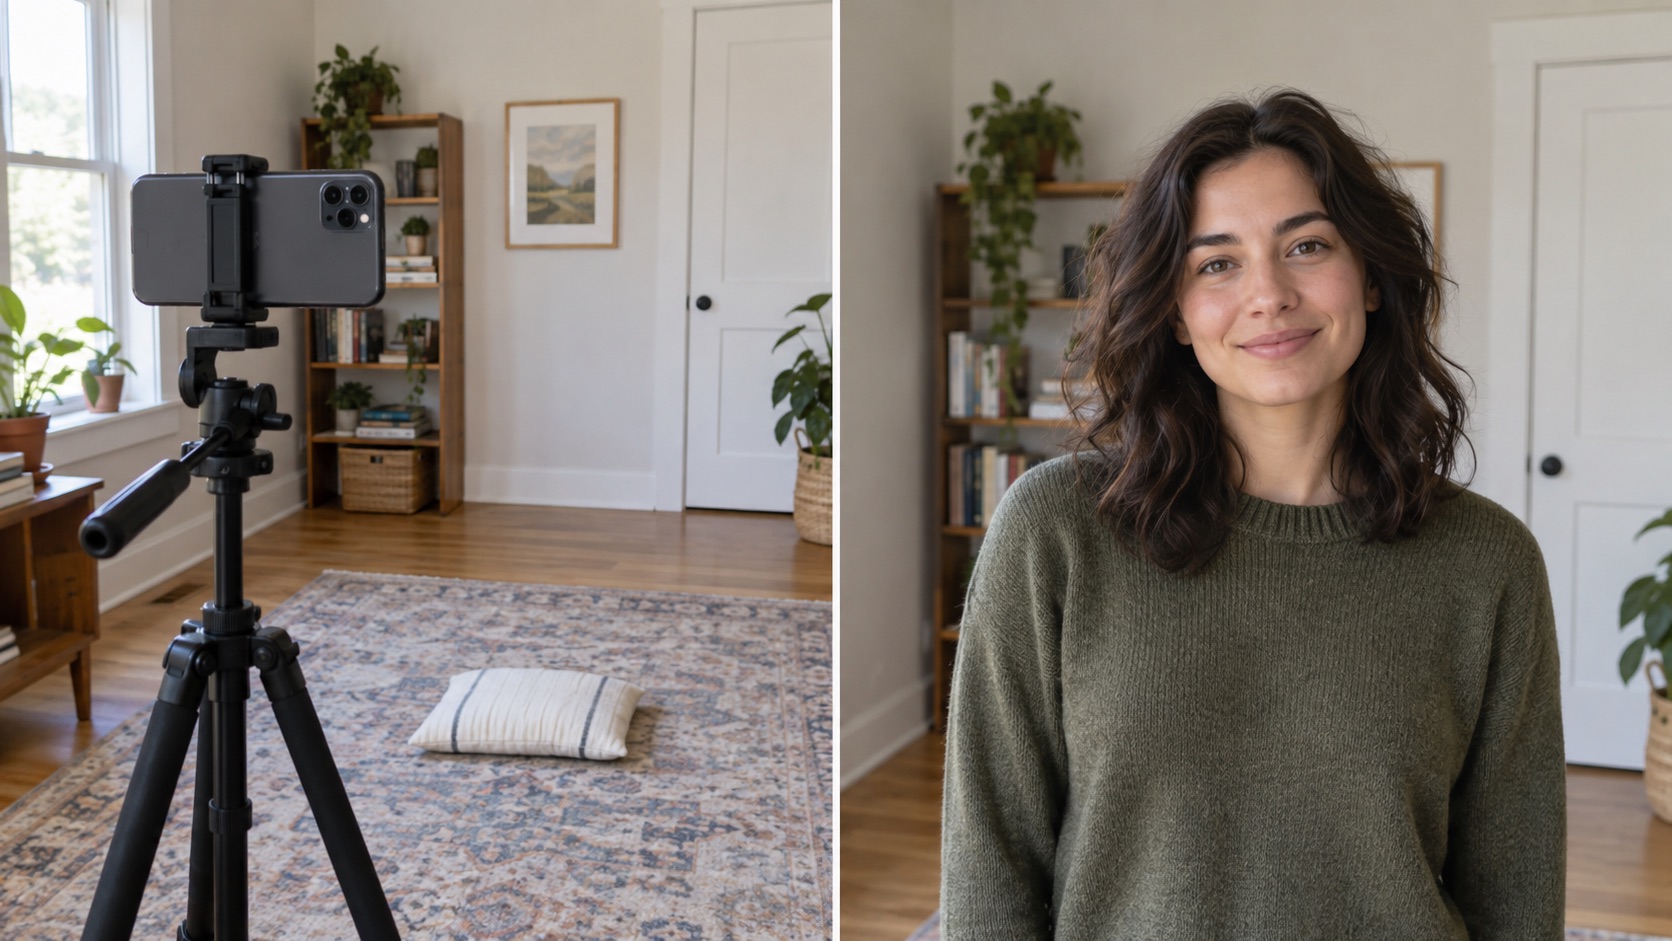
Tap the screen where your face will be. When shooting alone, you can briefly place an object at your standing mark to set up the test. Remove it and inspect the first actual portrait, especially the eyes, before trusting the focus. On iPhone, iPhone's timer controls offer 3, 5, or 10 seconds to get into position.2 Pick enough time to walk into place and settle your shoulders.
On supported Pixel phones, Pixel's selfie timer offers a hands-free countdown option.3 Pixel's focus and exposure lock can help keep the intended subject sharp and consistently exposed.4 Your screen may differ by model or camera mode. Check the controls before stepping away from the phone.
Make a series without relying on a burst
After the sharp test frame, try four more: a slight smile, a direct look, a glance just off camera, and one after you have shaken out your shoulders. Return to the floor mark each time. If the crop has shifted or your eyes look soft, fix that before taking another.
Your timer may take one photo, not a burst. Apple's separate Burst control is not the same instruction as turning on the timer.5 Taking the frames one by one gives you a chance to notice a focus mistake before it fills the whole set.
Review in two passes
Discard frames with closed eyes, soft focus, or clipped hair. View the rest in a small circle if that is where the photo will appear. If every frame is soft, clean the lens, find brighter light, and repeat the focus test. Keep the phone on its support while you review so you can retake a frame without rebuilding the setup.
For a work profile, these headshot examples show how much shoulder and background you might keep. Before using a portrait as an input photo, check the photo selection guide for blur and obstructions.


