
A background that looks good at full size can turn into a flat patch of color behind a small profile photo. Choose it with the actual destination in mind. The subject's face should stay clear, clothing should separate from the backdrop, and the scene should make sense for the role.
Choose a background by checking the actual place your headshot will appear. We have not run a matched background experiment for this guide, so it does not rank colors by measured trust, hiring, or conversion outcomes.
Start with the destination
For a company directory, check the surrounding page colors and how large the portrait will display. For a speaker bio, ask whether the image will sit on a white slide, a dark page, or both. For LinkedIn, test the square crop and small circular avatar. LinkedIn's photo editor lets you change the crop and position after uploading.1 Save the largest clean master so you can export another crop later. Use the headshot size guide when preparing files for each destination.
Then inspect the subject and clothing. Dark hair against a dark wall may lose its edge. A white shirt against a white wall may blend at the shoulders. You can solve either problem with lighting or a different tone; there is no universal hex code that works for every person.

Compare three background roles
| Background | What it can do | What to check |
|---|---|---|
| Simple light neutral | Keeps attention on the face and can fit many sites | Edge detail in pale hair or clothing; clipping around the face |
| Mid-tone neutral or muted color | Adds separation without making the setting a story | Color cast on skin; conflict with the site's palette |
| Workplace or outdoor scene | Gives context about the role or personality | The scene is relevant, credible, and still readable in a tight crop |
“Neutral” describes a visual role here, not a psychological effect proved by this article. The viewer's response depends on the whole portrait and where it appears.

A controlled comparison you can actually run
To test backgrounds, use the same consenting subject, pose, expression, clothing, crop, and output size. Change the background only. Keep the three full-size files and square avatar exports. Ask reviewers two separate questions: which image keeps the person easiest to see, and which setting fits the intended use. Record the answers without suggesting a preferred color first.
If the generation process also changes the face or light, the comparison is no longer a clean background test. Keep those results as examples of what changed, and do not report the difference as caused by background color alone. Repeat with more than one subject before making broad recommendations.
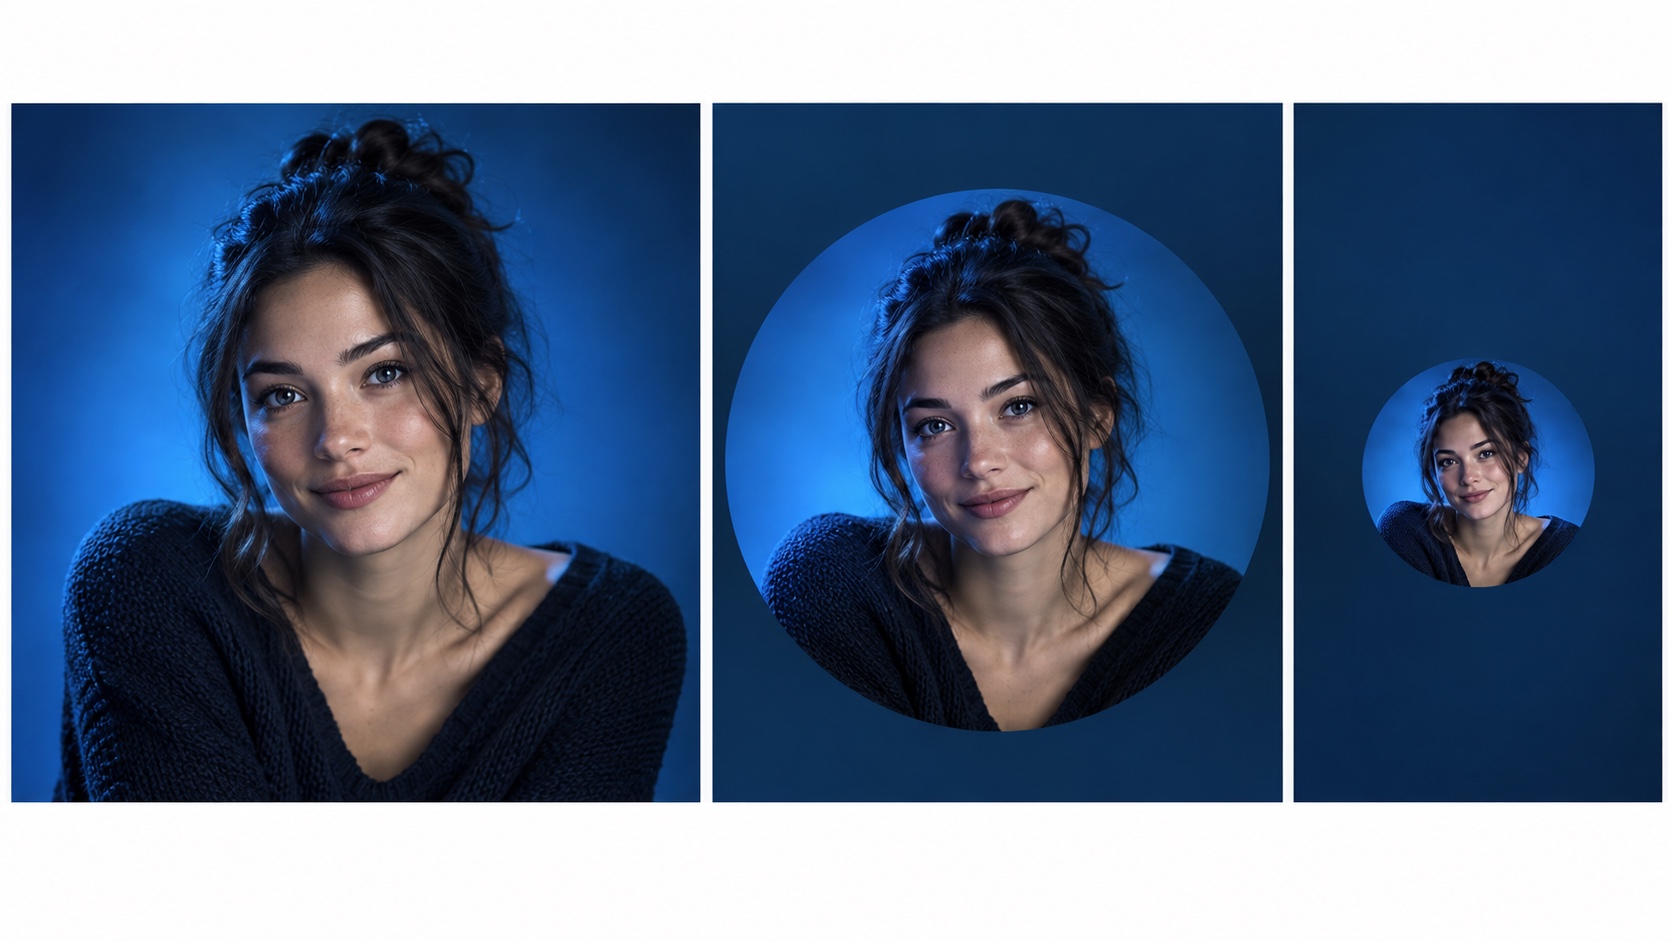
Check the result at three sizes
First, view the full image to catch mismatched light, rough hair edges, or an odd horizon. Second, crop it to the platform shape. Third, reduce it to the size people will actually see, such as a 96-pixel avatar. A detailed office can become visual noise at that size. A simple background often makes the face easier to find, but test the image instead of relying on that expectation.
Compare on both a light and a dark surrounding page if the photo may appear in both. The same gray can look different next to different interface colors. Do not use a text-contrast ratio as a scientific threshold for the contrast between a face and a background; W3C's 4.5:1 guidance concerns text and images of text.2
Do not treat color as a trust score
A published color study examined performance on cognitive tasks.3 It did not measure whether a headshot looked trustworthy. Use background color to help the face read clearly in the final crop, then judge the result in its intended setting.


